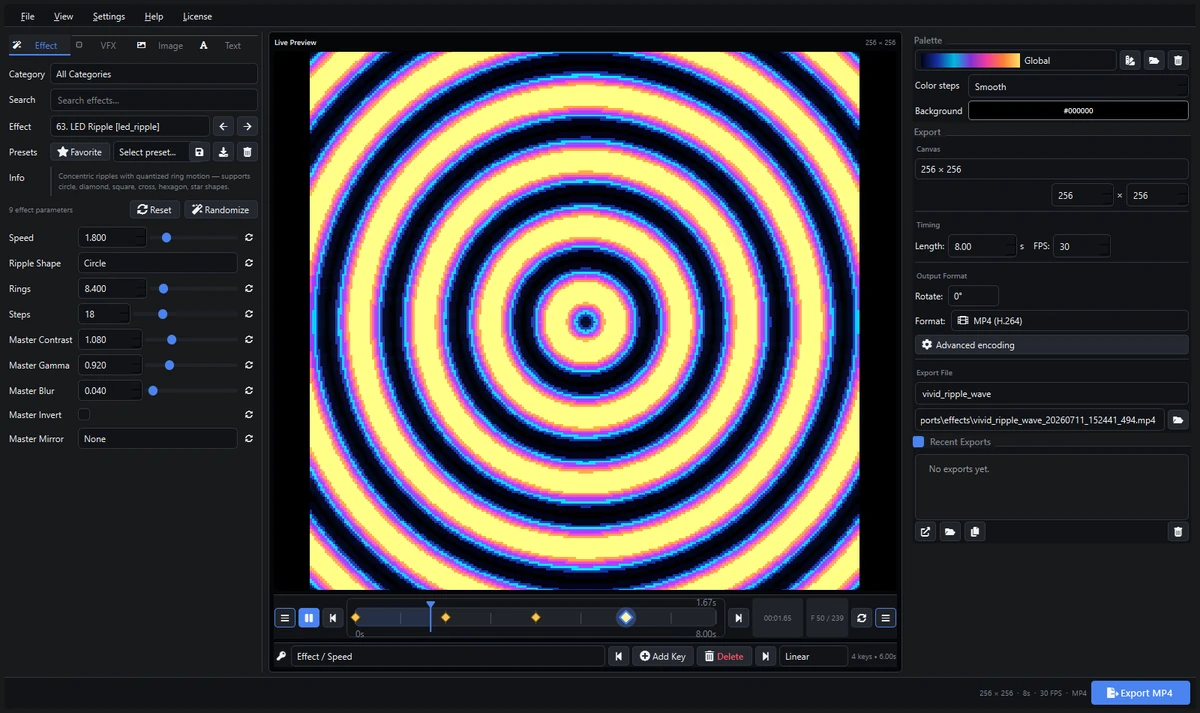
A SWF pixel animator creates animation files for LED programs that accept the SWF format. Pixel LED Animator 3 supports SWF export, so you can design an effect, preview its motion and render a file for a compatible LEDEdit workflow. If you only need existing files, start with the free SWF and AVI effects sample.
SWF export and free SWF files serve different needs. The paid editor lets you create your own content; the sample gives you ready-made animations. Neither replaces the controller software that maps and transfers an animation to your LEDs.
Before you create an SWF animation
Start with the destination: the exact LEDEdit version, the LED layout and the controller you will use. Support for an extension does not guarantee identical playback in every release. Confirm that your software imports SWF, and use a short test before rendering a long sequence.
Write down the width and height of your pixel matrix. A 32 × 16 display, for example, needs a different composition from a wide 128 × 8 sign. Large details and clear color changes usually read better on small matrices than fine text or dense patterns.
Keep the source project or preset as well as the exported file. An SWF is a delivery file; it is not a substitute for editable effect settings. Saving those settings lets you change colors, duration or dimensions without rebuilding the animation from memory.
1. Build the effect in Pixel LED Animator 3
Install the software from your official software download, open it and create an animation at the size required by the receiving workflow. Choose an effect with recognizable motion, such as waves, a color sweep or a repeating geometric pattern.
Adjust the palette, scale, speed and density while watching the preview. If the animation will play on a low-resolution matrix, temporarily judge it at the actual pixel dimensions instead of only looking at a large desktop preview.
Use a short duration for the first export. This makes testing faster and helps you spot a reversed direction, a mismatched aspect ratio or a visible loop boundary before committing to a longer render.
2. Choose SWF in the export options
Select SWF as the output format and choose a filename and destination folder. Use a descriptive name such as blue-wave-32x16.swf so the exported dimensions and effect are easy to identify later.
The export implementation uses the FLV1 video codec inside an SWF container. The file is a rendered animation, not an interactive vector Flash project. Leave the SWF codec setting at its supplied default unless your receiving software specifically requires another tested setup.
Use the frame rate accepted by your import workflow. Begin with the default setting, then test playback in the target application. Renaming an MP4 or AVI file to .swf does not convert its format; render using the SWF export option.
3. Render and check the resulting file
Export the animation and wait for the render to finish. Confirm that the destination contains the expected .swf file and that the file is not empty. Keep the application open until the export has completed rather than assuming the preview itself has saved a usable animation.
Test that file in the LED software that will actually use it. A desktop web browser is not a useful SWF compatibility test: this workflow is about an animation file imported by LED software, not Flash content embedded in a website.
If the export fails, note the selected format, dimensions, duration and error message. Try a short animation with the default export settings before changing several codec options at once. This isolates a format problem from a larger or more complex project.
4. Import into a compatible LEDEdit version
Open your existing LED project and confirm its controller model and pixel layout. Use the import or animation workflow provided by your LEDEdit version, select the exported SWF and preview the result on that layout.
Check orientation, cropping, timing and the start-to-end transition. The editor canvas and the wiring order are different things: a correctly rendered file can still look wrong when the controller layout uses the wrong first pixel, direction or zigzag mapping.
Transfer the programmed result using your controller’s normal process only after the software preview is correct. SWF is input content for this workflow; it is not automatically the final file written directly to an SD card.
When to choose SWF, AVI or XDAT
| Format | Useful starting point |
|---|---|
| SWF | Existing LEDEdit workflows that explicitly accept SWF |
| AVI | LED applications that accept the chosen video codec |
| MP4 or MOV | Video-based LED and pixel-mapping workflows |
| XDAT | Compatible LEDEdit workflows that accept XDAT |
Choose according to the receiving software rather than assuming one format works everywhere. See the export-format guide for the broader workflow and the complete tutorial for effect editing.
Troubleshooting SWF playback
The importer rejects the file. Confirm that the installed application version supports SWF. Render a short file with the default codec settings and try it in a new test project. If that workflow does not accept SWF, choose a supported alternative rather than repeatedly changing the extension.
The animation is stretched or cropped. Compare the source width and height with the destination matrix. Check whether the importer scales, crops or tiles its content. Return to your saved source settings and export again at the intended aspect ratio.
Motion looks too fast or uneven. Check the source frame rate, the destination playback settings and the effect speed separately. A smooth desktop preview does not guarantee the same timing after import into another program.
The loop has a visible jump. Compare the first and final frames. Use motion that repeats cleanly over the chosen duration, or adjust the duration and speed together before exporting again.
Do I need Pixel LED Animator 2 for SWF?
SWF is supported in version 3; you do not need to search for a version 2 installer just to create an SWF effect. Read the version 2 overview if you arrived through an older tutorial. To begin, get the current software or test your existing LED setup with the free ready-made effects.