Pixel LED Animator 3 v1.3.0 now available. Version 1.3.0 adds 23 export profiles, 145 effects, VFX, image/text overlay FX, an RGB zone-colored interface, and real-time WLED, ArtNet and sACN streaming. Explore Pixel LED Animator 3 or view the lifetime version 3 license.
Introduction
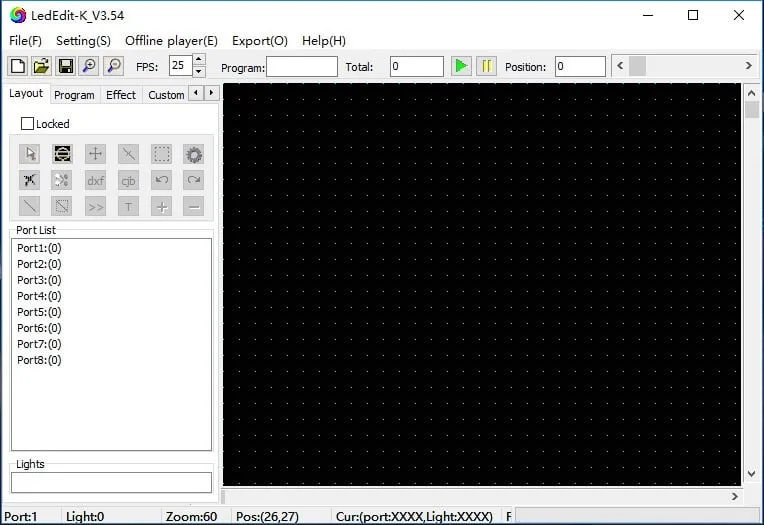
LEDedit is a powerful LED control software that is widely used for managing pixel-based LED displays. By integrating Pixel LED Animator with LEDedit, you can create complex pixel animations and synchronize them easily with your LED displays. This tutorial will guide you through the process of designing custom pixel LED effects in Pixel LED Animator and importing them into LEDedit for precise display control.
Step 1: Set Up LEDedit Software
- Download and install LEDedit. You can find the software on the LEDedit Download Page.
- Launch LEDedit and set up your LED controllers and pixel configurations.
- Go to the Device Settings and configure the output resolution and channels for your LED hardware.
- Test your LED setup by connecting the hardware and ensuring that everything is working properly with LEDedit.
Step 2: Create Animations in Pixel LED Animator
- Open Pixel LED Animator and create a new project for your LED animation.
- Design your pixel animation by adjusting colors, pixel transitions, timing, and other parameters. You can design stunning effects with a high level of customization.
- Once your animation is ready, export it as an XDAT file (the native format for LEDEdit workflows) or as a video file (MP4, ProRes, or DNxHD) depending on your LEDEdit setup and display hardware.
Step 3: Import XDAT or Video Files into LEDedit
- Launch LEDedit and go to the Effect section.
- For XDAT export, load the file directly via LEDEdit’s XDAT import tools. For video, select Import Video and choose the file exported from Pixel LED Animator.
- The animation will be imported into LEDedit and ready for use in your LED display projects.
Step 4: Synchronize and Control Playback
- After importing the animation into LEDedit, you can drag it to the appropriate layer in the timeline.
- Adjust the playback settings, including speed, brightness, and loop options, to match the desired visual effect.
- Use the timeline to synchronize your animation with your LED hardware for real-time playback.
Step 5: Fine-Tune and Finalize the Show
Before going live, take a few final steps to ensure everything is perfectly synchronized:
- Preview the animation in LEDedit to check the alignment of your pixel effects with your LED display.
- Adjust output settings, such as contrast and brightness, to make the animation look its best on your display.
- Confirm that the animation runs smoothly in LEDedit, ensuring a flawless visual experience during your live show.
v1.2.0 codec update: Pixel LED Animator 3 v1.2.0 adds expanded codec support including ProRes, DNxHD, HAP, and DXV profiles alongside the existing XDAT and AVI formats, giving you more flexibility with LEDEdit workflows.
Conclusion
By combining Pixel LED Animator with LEDedit, you can create professional-quality pixel LED animations and seamlessly integrate them into your LED control system. This integration allows for precise control over your LED displays, enabling you to create stunning visual effects for any event or project.