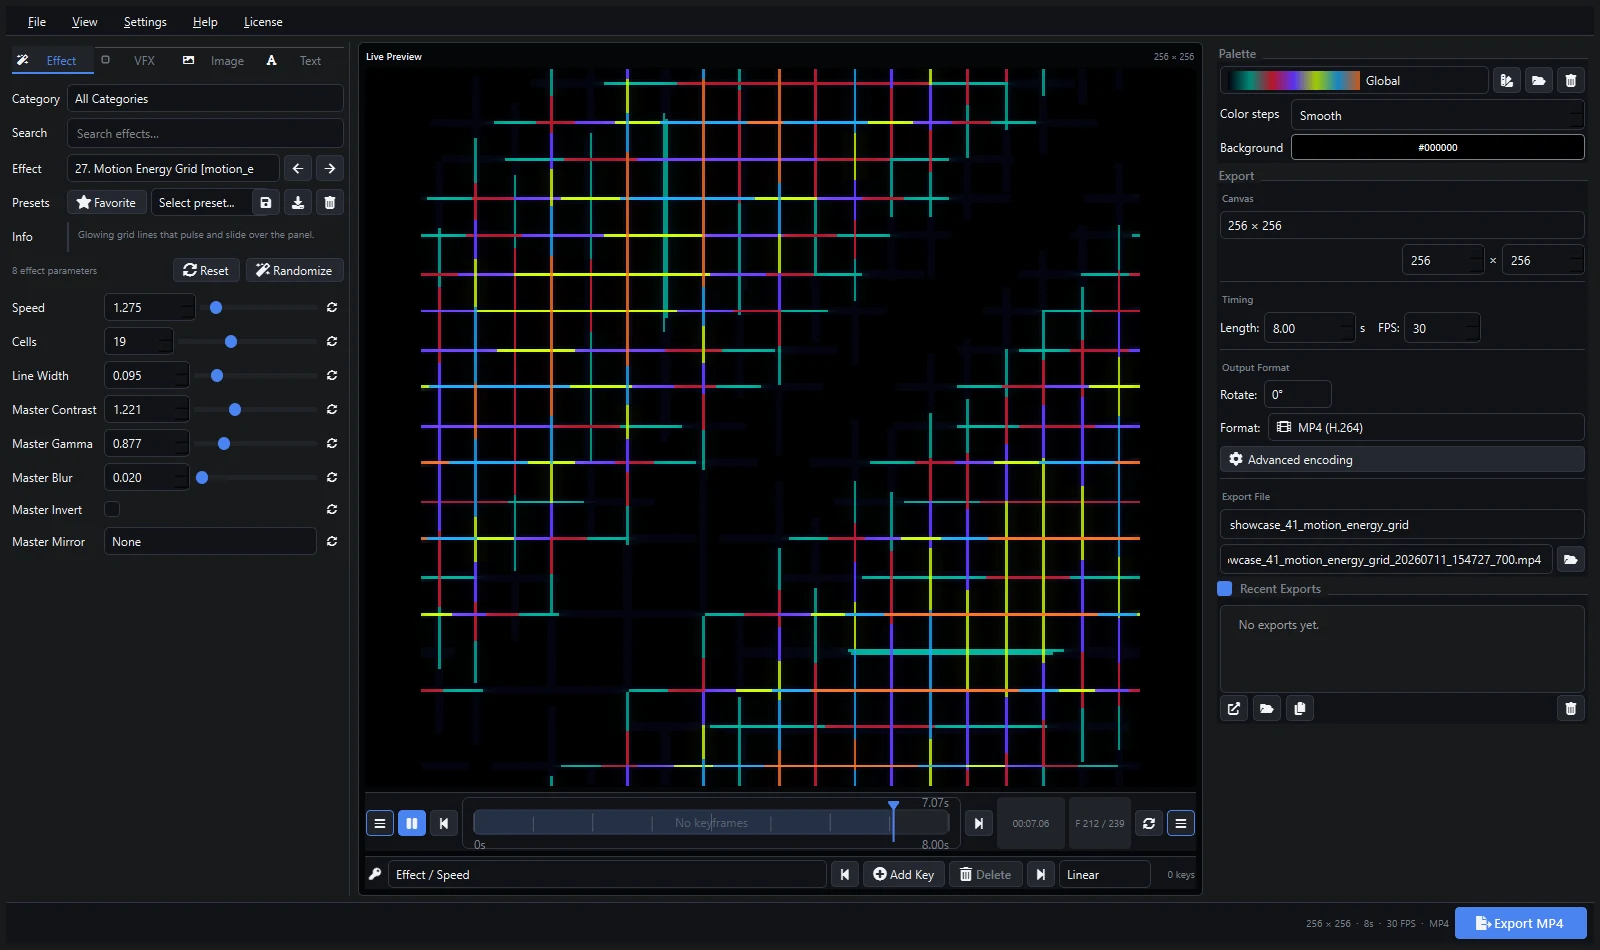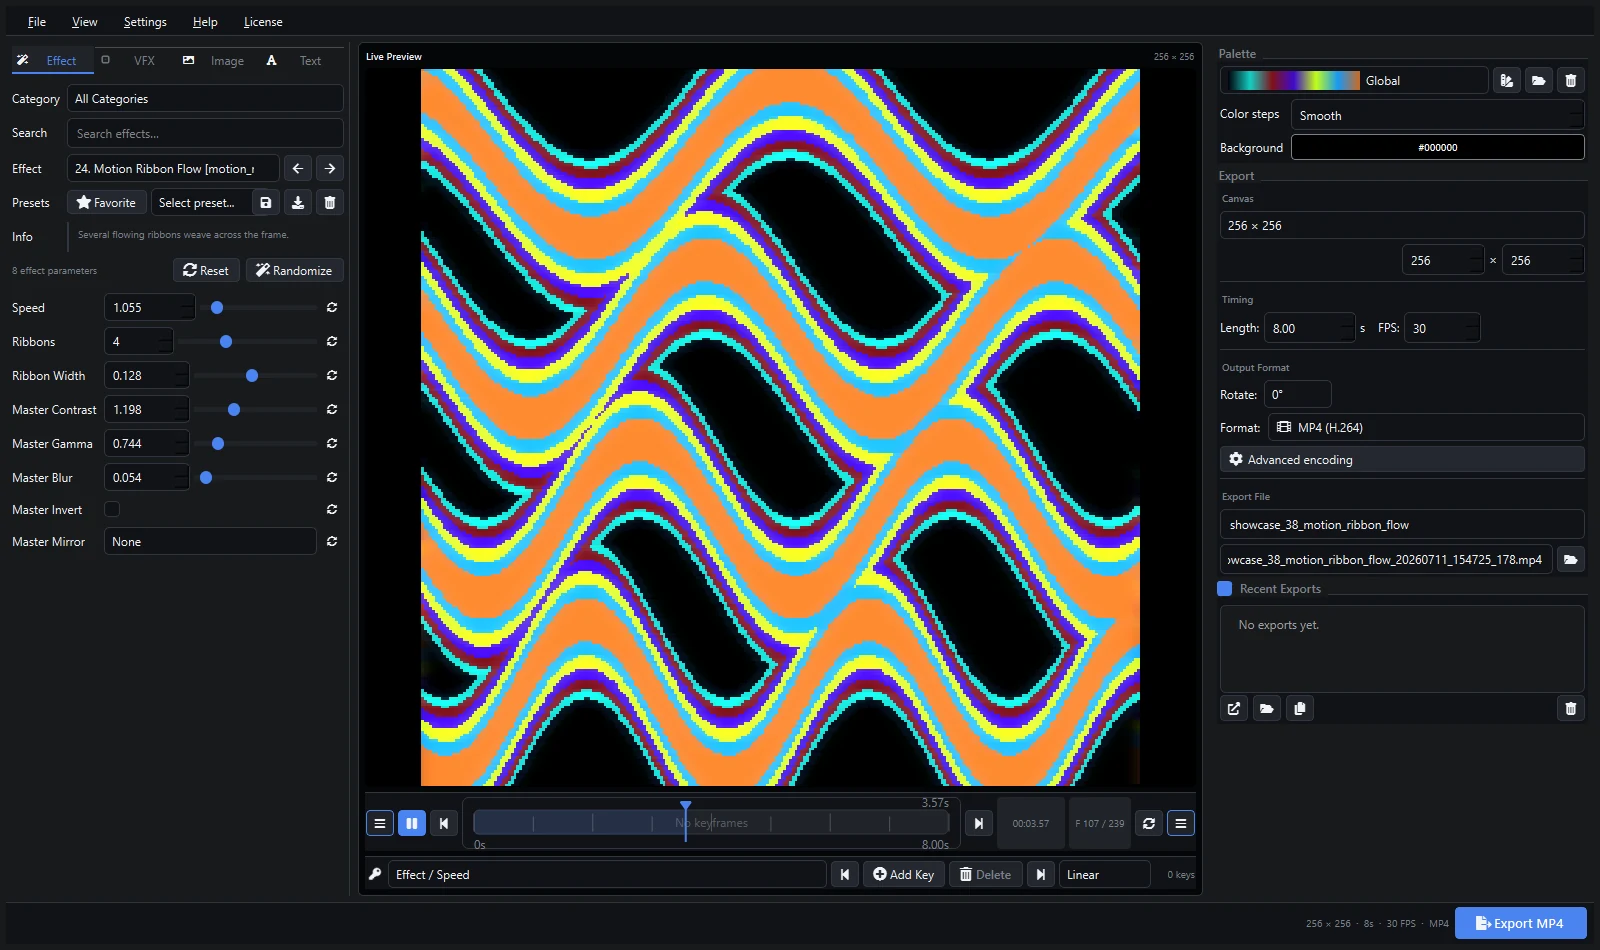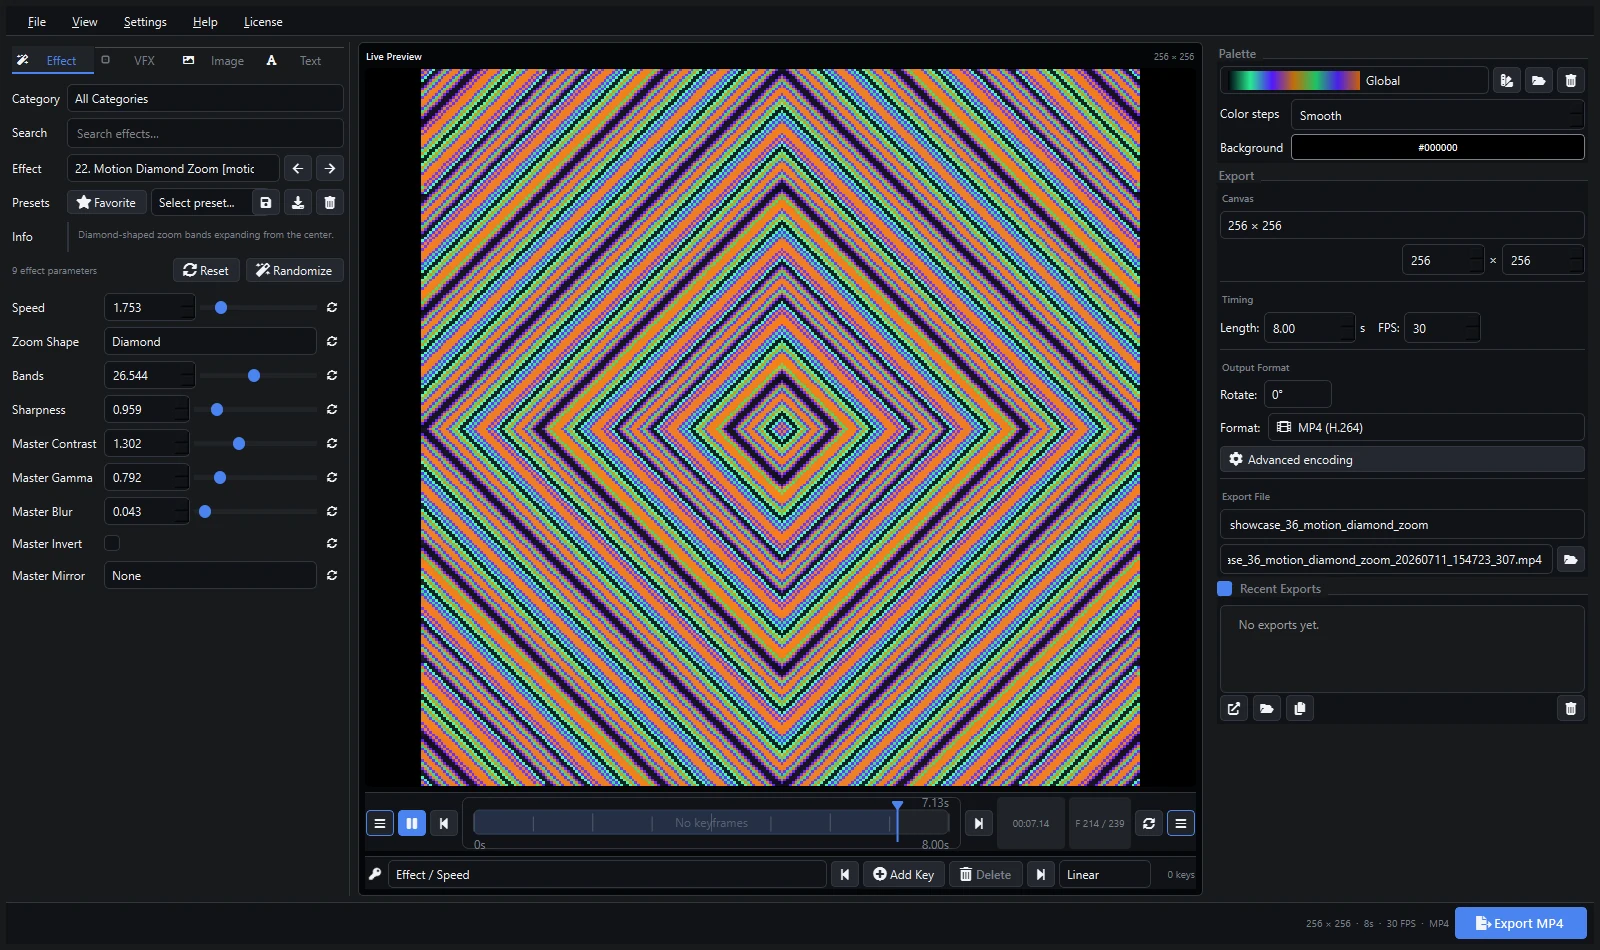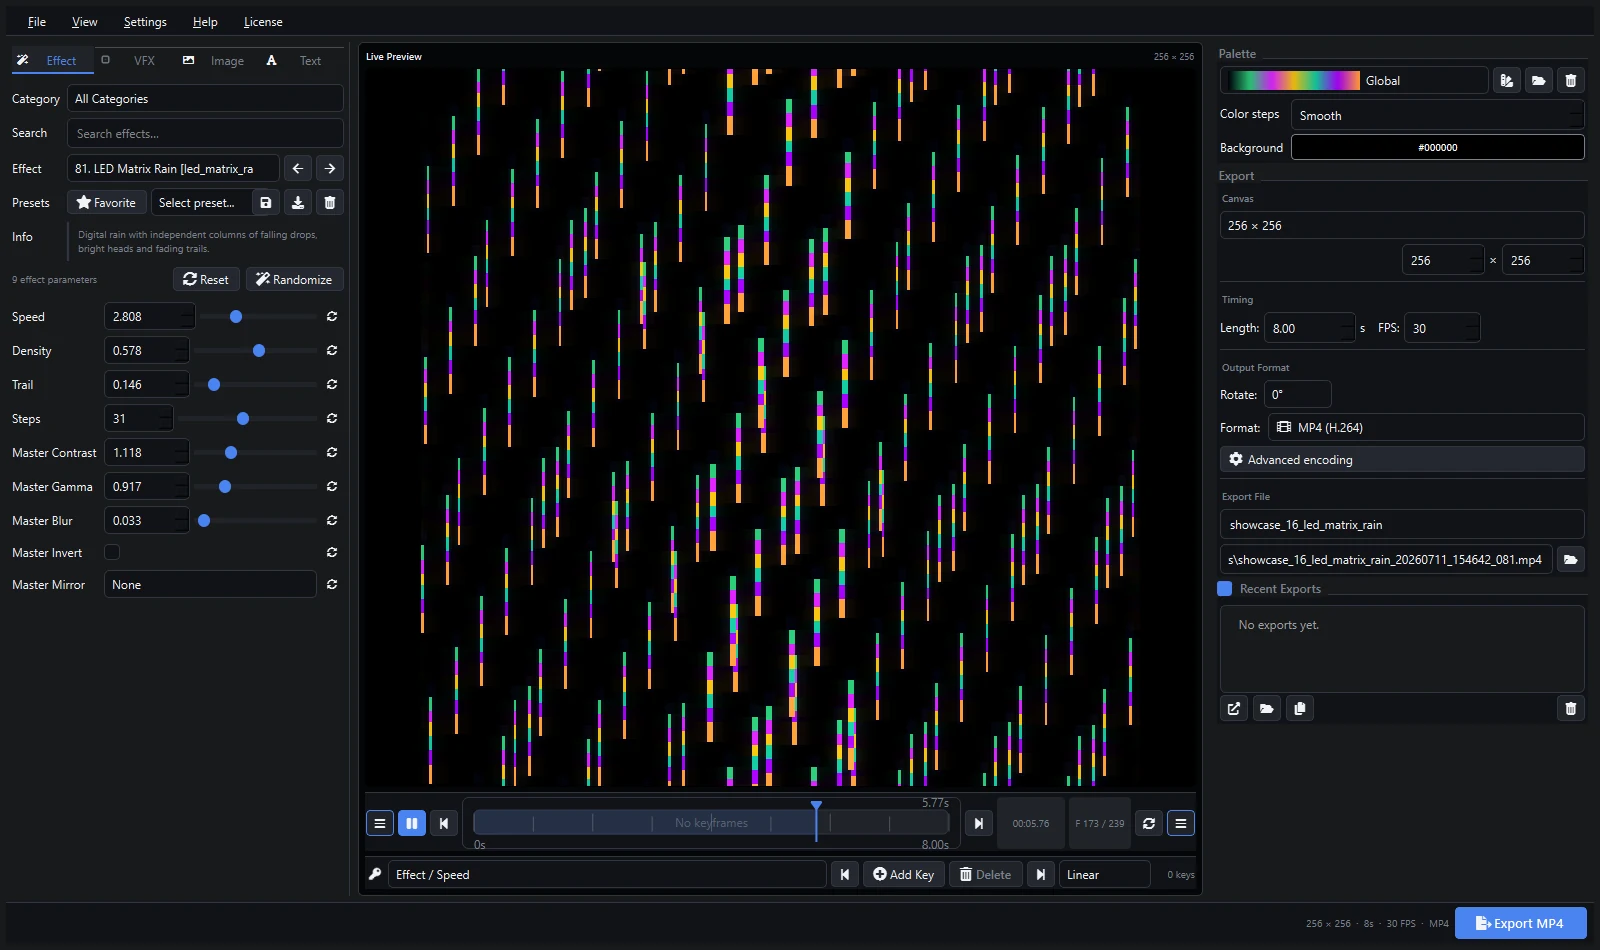
xLights already includes a large effect library. Pixel LED Animator 3 complements it by creating reusable rendered media with custom palettes, keyframed motion, logos, text, image overlays, and VFX. The result can be placed on a matrix, panel, or suitable model with the xLights Video effect.
According to the official xLights manual, the Video effect accepts common media including MP4, MPG, AVI, MOV, FLV, MKV, and ASF files. It also provides start time, duration treatment, playback speed, aspect-ratio, crop, loop, and Transparent Black controls.
Build for the Model
Start with the aspect ratio of the target model. For a 64 × 32 matrix, a 2:1 source avoids unnecessary cropping. You may render at native resolution for crisp pixel art or at a clean multiple when the same clip will be reused on several models.
Create a loop with clear silhouettes and controlled brightness. Very fine details can become noisy after xLights maps the video to a low-resolution model. Use black intentionally when you plan to enable Transparent Black and combine the clip with effects on lower layers.
Export from Pixel LED Animator 3
MP4 H.264 is a practical first choice for xLights. Match the sequence frame rate where possible and use a duration that aligns with the timing marks. Keep the media in a permanent show-media directory before adding it to the sequence.
Add the xLights Video Effect
- Open or create the xLights sequence and add the target model to the Sequencer view.
- Drag the Video effect onto the required time range.
- Select the exported file in Video Location.
- Choose a Duration Treatment such as Loop or Manual and Loop.
- Enable Maintain Aspect Ratio or use Crop according to the model.
- Use Transparent Black when black areas should reveal content beneath.
- Render and inspect the sequence on the model preview.
The official xLights Video effect documentation describes each option and supported media type.
Avoid Missing-Media Problems
xLights references the video file path. If the file is moved or deleted, the effect may render blank or indicate that the source cannot be found. Store media with the show files and include it in backups or sequence packages.
Troubleshooting
- Red or blank output: verify Video Location and confirm the file still exists.
- Wrong shape: compare source ratio, Maintain Aspect Ratio, and Crop.
- Blue or blank tail: choose the appropriate Duration Treatment when the clip is shorter than the effect.
- Harsh edges: adjust Transparent Black threshold or export a cleaner black background.
- Timing drift: match FPS and use a clip duration aligned to sequence timing.
Save the Pixel LED Animator preset with the show. You can then revise colors, text, or duration while preserving the underlying motion.
Explore Pixel LED Animator 3 · Read the complete tutorial · Buy the lifetime version 3 license