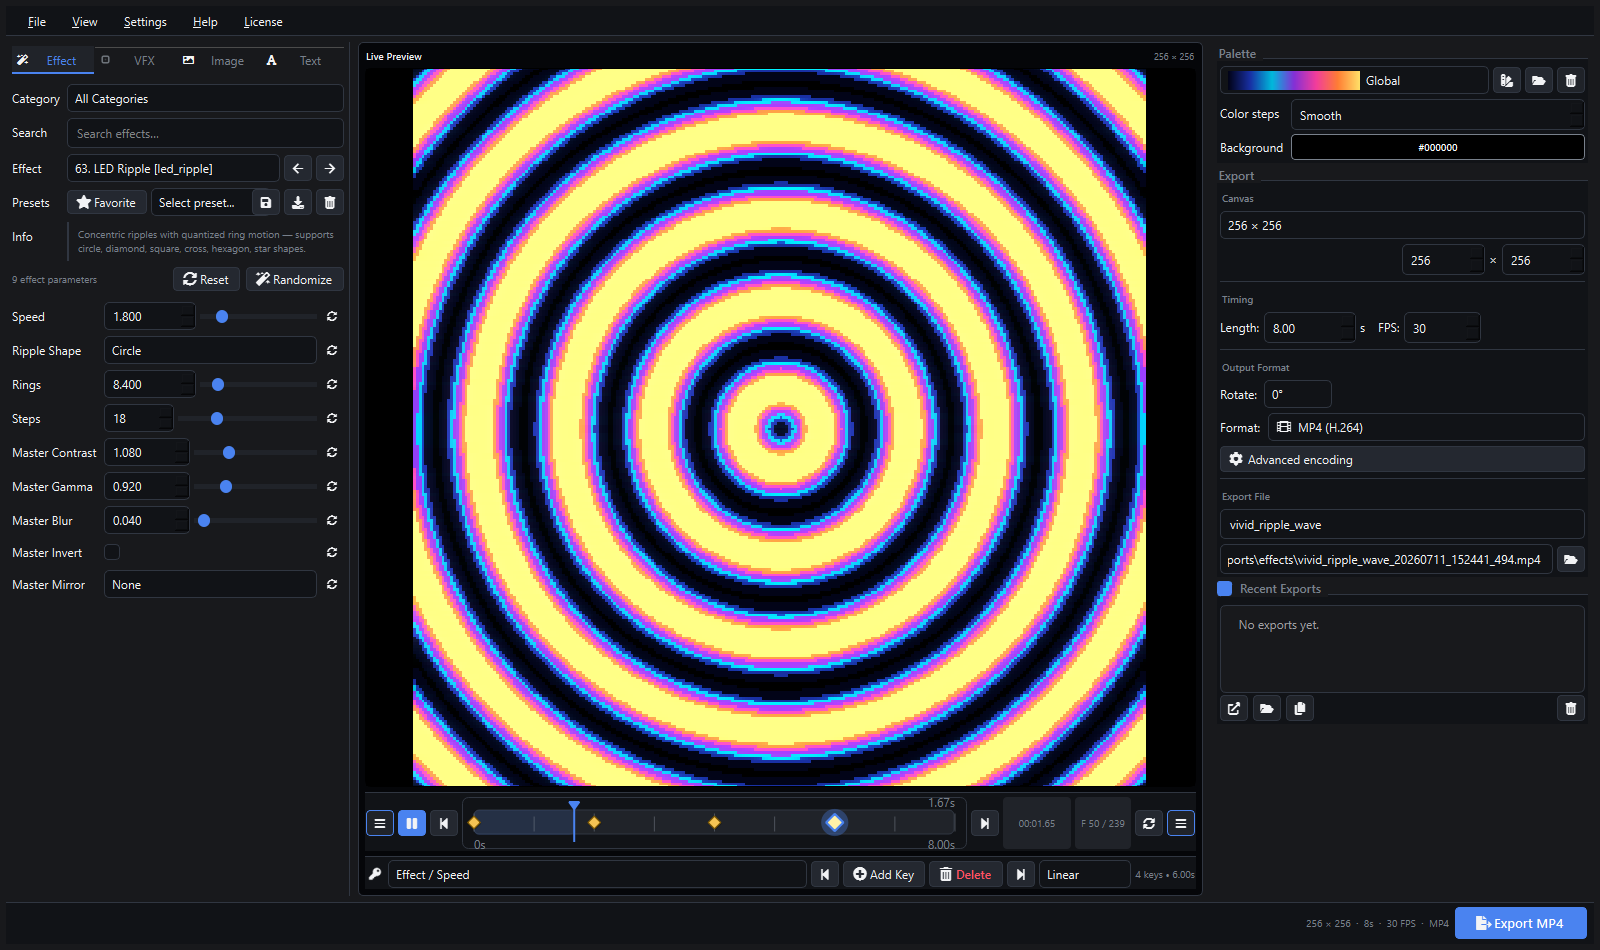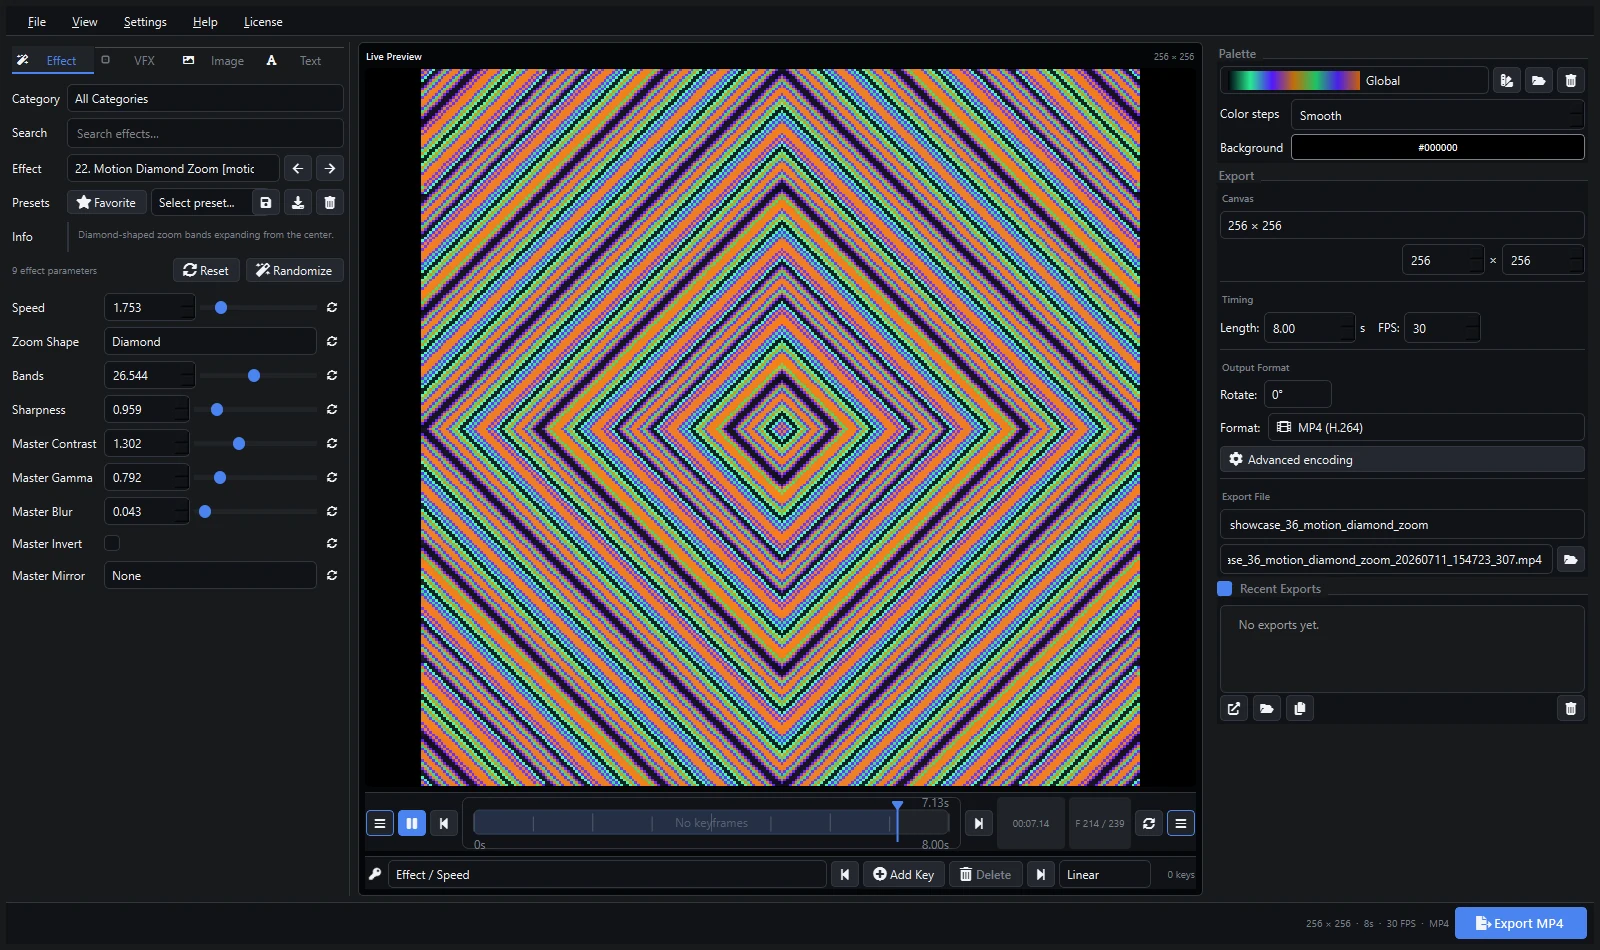
Pixel LED Animator 3 creates animated content for pixel LED displays without requiring every movement to be drawn frame by frame. Its live preview, 100+ generators, palettes, VFX, overlays, and keyframes make it useful for preparing loops before they enter a LEDEdit project.
Version 3 supports two practical delivery routes: XDAT export for compatible LEDEdit workflows and conventional video export. XDAT compatibility depends on the LEDEdit version, controller, wiring order, and project configuration, so confirm those details with a short test before producing a large content library.
1. Match the LED Canvas
Start with the real pixel width and height of the mapped output. A 32 × 64 matrix should normally be designed at 32 × 64 rather than at a generic HD resolution. This keeps edges crisp and prevents LEDEdit or the controller workflow from performing an unnecessary resize.
Set the duration and frame rate next. Use the frame rate expected by the target workflow and begin with a short seamless loop. Avoid changing rotation during export unless the physical mapping actually requires it.
2. Build and Preview the Animation
Choose an effect generator, then adjust its shape, speed, density, scale, or effect-specific controls. Build a palette that remains readable on the real LEDs; extreme near-black shades can disappear after brightness limits and power management are applied.
Use keyframes for planned changes instead of stacking several unrelated clips. VFX, images, and text can be added in the same workspace. Scrub the timeline and inspect the first and last frames before export, especially when the result must loop continuously.
3. Export XDAT for a Compatible Workflow
Select the XDAT output option, verify the canvas dimensions and frame rate, choose a clear filename, and render the file. Import or place that file according to the procedure required by your LEDEdit/controller combination.
Test the result on a small project first. Check:
- Pixel order and orientation
- Canvas width and height
- Playback speed and loop length
- Color-channel order and brightness
- Controller capacity and storage limits
Pixel LED Animator creates the visual frames; controller addressing, wiring order, and hardware output remain part of the LEDEdit setup.
4. Use Video When XDAT Is Not Appropriate
For a video-based LEDEdit workflow, export AVI or another format accepted by the target installation. Use a lossless or high-quality master when another conversion step is required. Keep the source at the final LED aspect ratio and avoid introducing audio when it is not needed.
Troubleshooting
If the result is stretched, the project and export dimensions do not match. If it plays too quickly or slowly, compare both frame-rate settings. Incorrect colors usually point to controller channel order, project color settings, or conversion rather than the effect generator itself.
Keep the original preset and source export alongside the LEDEdit project. That makes it easy to change timing, palette, or dimensions without rebuilding the look.
Explore Pixel LED Animator 3 · Read the complete version 3 tutorial · Buy the lifetime version 3 license